Showing posts with label soap challenge. Show all posts

Tuesday, July 16, 2013

Cafe Mocha CP Soap

I love all of the challenges that are going around the online soaping community. It really pushes me to get in there to create and learn new techniques, meet new soapers, and put my soaps out there. The latest challenge was with the FB group Soapers Retreat. I had sworn off Facebook. It is a time sink that I just don't need or have time for. Then I found the Soapers Retreat group, and now I am hooked back in. Dang. At least I don't spend time on my newsfeed. I just go on to look at and talk about soap. The way it should be!
The challenge was to create a soap based on your morning drink of choice. Well, coffee of course!

I used 3 parts of BB Oatmeal Milk and Honey and 1 part WSP Coffee Mocha. I scented the light tan with OMH and the dark brown with Coffee Mocha. The white I left unscented. It smells O Yum.

For the swirls I used a spoon in the mold swirl.


Blessings to all!
S.

Tuesday, July 9, 2013

Mantra Swirl Challenge

I'm back again with another soapy challenge from Great Cakes Soapworks! This time it is the mantra swirl.
We learned two different methods. The original mantra and the three color modified swirl.
I decided to give both a try.
The first one I tried was the original mantra.
I used:
40% Olive Oil
30% Coconut Oil
22% Palm Oil
8% Castor Oil
Fragranced with Bramble Berry Ginger Ale.

The fragrance was very well behaved, and the recipe was slow moving enough for me to do my thing. After taking the divider out, I stuck the squirt bottle way down into the soap to get it down to the bottom. I did have a little hitch with a partial gel in the middle, but after the initial panic, and some great advise from the Teach Soap board, I popped it back in the oven and brought it to full gel the day after. Yeah! It worked!

Here are the results!


I then attempted the modified mantra. Try #1 was an epic fail. So much so that I don't even have pictures to share. Imagine a solid hot pink soap. Now you know what it looks like. :) My original plan was to do a pink gradient soap scented with BB Cherry Blossom. Great idea right? Well..... the soap accelerated on me, and not only that, but after it went through gel phase, the colors turned out too close to each other. It is a pretty pink, yummy smelling soap. Not a mantra swirl.

Next try. After the Cherry Blossom incident, I decided to go for an old standby. I used three fragrances that I know well as a blend. BB Energy, WSP Pink Grapefruit, and WSP Pink Berry Mimosa. MUCH easier to work with. The only struggle that I had with the technique was the cardboard floating up while I was pouring. I even had my hubby holding them down for me. After we were done, he said now that he knows what I was trying to do, he can make me some dividers that will stay put. Awww, what a great guy!
I used a straw on a hanger to swirl, and it seemed to help move the soap.
I think next time, I will try to pour at a thinner trace to get a more wispy look. I had a great time learning a new technique. I can't wait to see all of the beautiful creations that everyone made!


Monday, June 10, 2013

Great Cakes Soapworks Peacock Swirl Challenge!


I took the plunge and joined the Soap Challenge Club hosted by Amy at Great Cakes Soapworks!  It was my first time with the peacock swirl, and I found that it was a fun, creative, difficult and truly beautiful technique.

To start out, I got some advice regarding equipment, recipe, colorants, temps, and fragrance. Before I started the actual soap making, I needed to gather my supplies.
Since I don't have a real slab mold, I needed to get creative and make one of my own. So off to the web I went. First, I found a post on the Soapers Retreat Facebook page with a tip to go to Michael's craft store and buy a $5 wooden picture box. They had it, and I got it! Next, I had to figure out how to line this thing. Freezer paper? I wasn't so sure. I didn't want my beautiful swirls to go leaking out the corners everywhere. So I decided to use Lovin' Soap 's tutorial on how to make a reusable liner. Never being one to follow all directions, I used appliqué template plastic, instead of lexan sheets. It is what I had on hand, and I figure that if it can withstand the heat of a direct iron, it will do just fine with soap. One thing though, the material is very flexible. It took a lot of wrangling to get it taped together.
My Michael's picture box slab mold

Applique template plastic liner
Bamboo Skewers in Cardboard

Next up was to make my rake. I opted for the bamboo skewers and the cardboard rake. Again, it is because that is what I had on hand. Super happy with the way this turned out. The skewers are really tightly wedged in the cardboard, and they were perfectly spaced!


Then I got a 20 minute video (yeah!) showing exactly how to make my creation. I, of course, watched it multiple times and felt ready to tackle my first ever peacock swirl. OK Here goes!

Colorants
I tried to mix them well ahead of time to avoid chunks. Cross your fingers!
The colorants I used were:
Activated Charcoal - Bramble Berry
Super Pearly White - Bramble Berry
Electric Bubblegum - Bramble Berry
Lemon Drop POP - TKB Trading (discontinued)
Grape POP - TKB Trading (discontinued)
Green Apple POP - TKB Trading (discontinued)


Base Soap
I used Energy fragrance oil from Bramble Berry and only put it in the base soap because even though Energy moves very slowly, I was too nervous to put it in my squirt bottles. Speaking of....


Starting to Squirt!


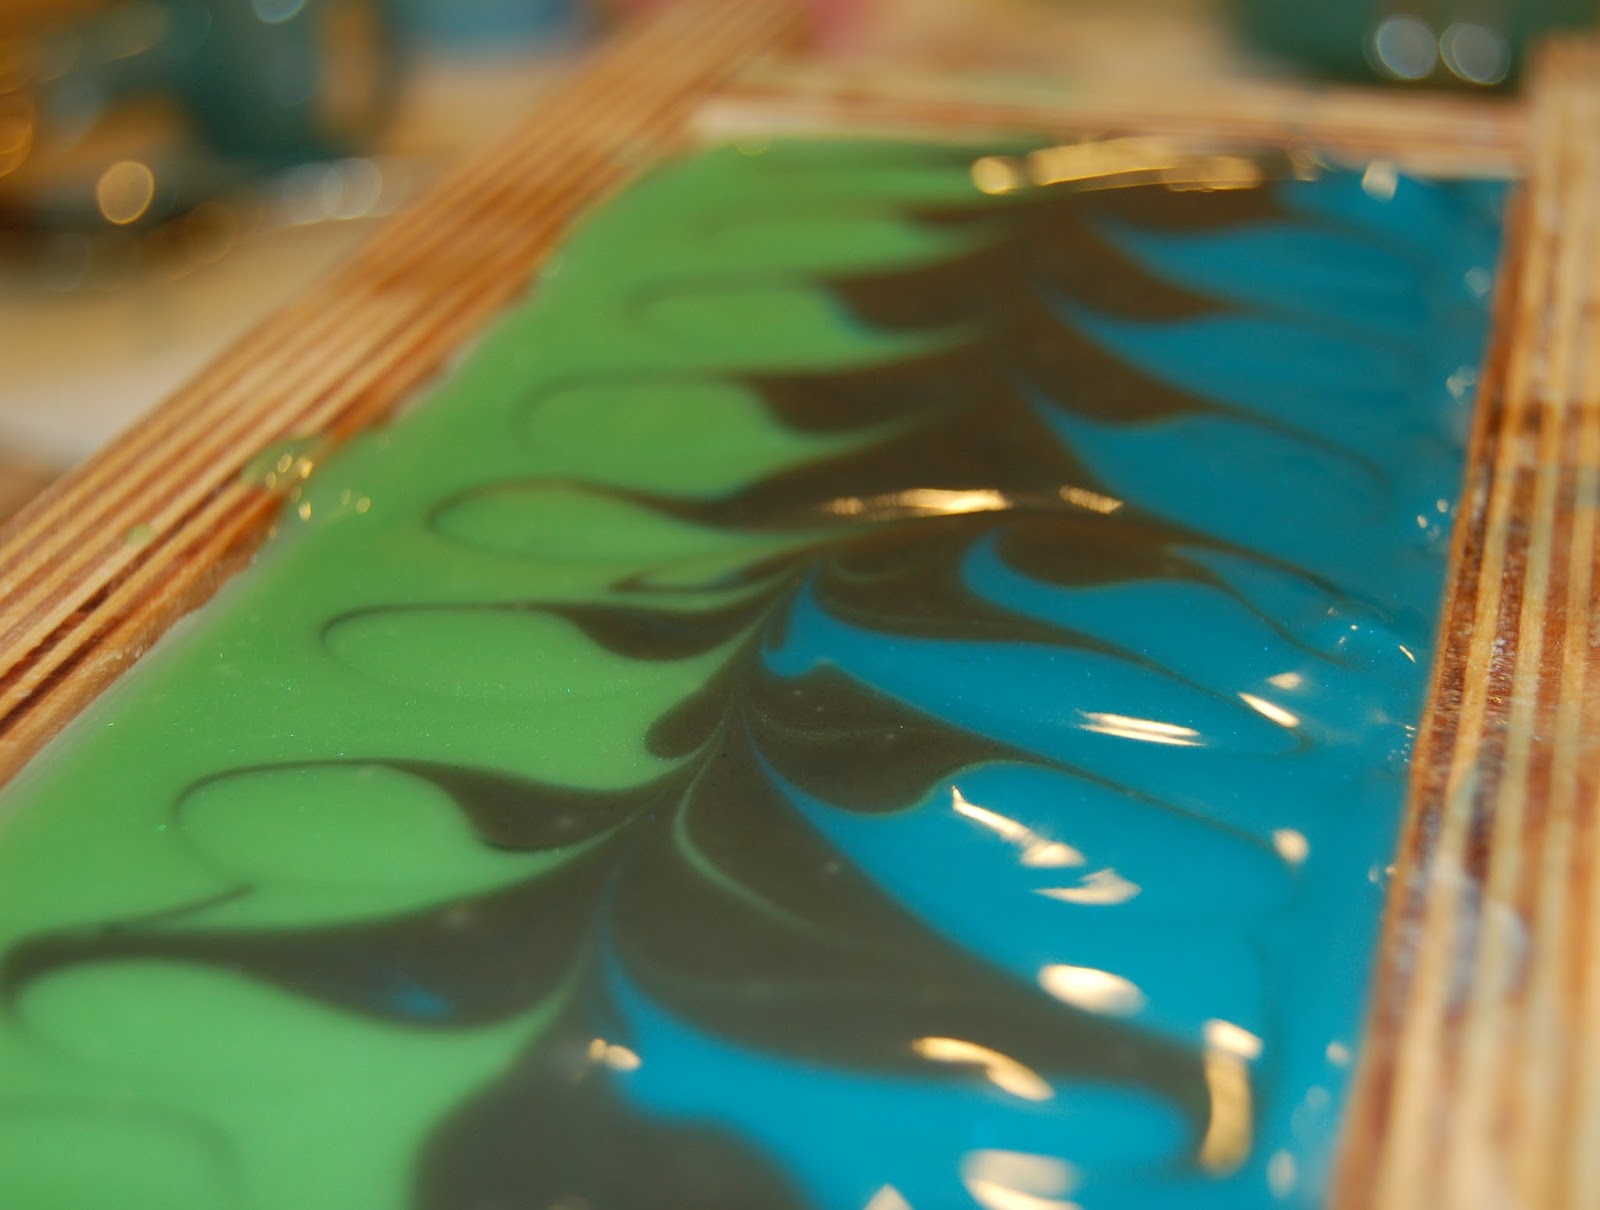
Here we go! I put about 5 oz. of soap in each bottle. This is part of the reason why I ended up with a 6 color swirl. I needed more soap for the top, and my bottles were little! So I squirted and squirted some more, and yup.... got a burp at the end. (Even having been warned ahead of time) 
Soapy Lines
I cleaned up my lines and was ready to rake!
Raking...

A Little Further...

All done - Now to clean up the sides

Making the feathers

Close up of swirling

Done!!!!!!
Here are some more of my completed project still wet. How I wish the color would stay this bright!


I love the mica sparkle!


 The soap went to bed in it's box and got a heating pad on a timer to keep it warm for about 2 hrs. I wanted to make sure that the soap gelled so I could get some bright colors.
Now to unmold!
The next day, it did not have ash as bad as I was expecting. Whew. 
Here is a picture of some of the cut bars with the ash still on them.

Bars before steaming


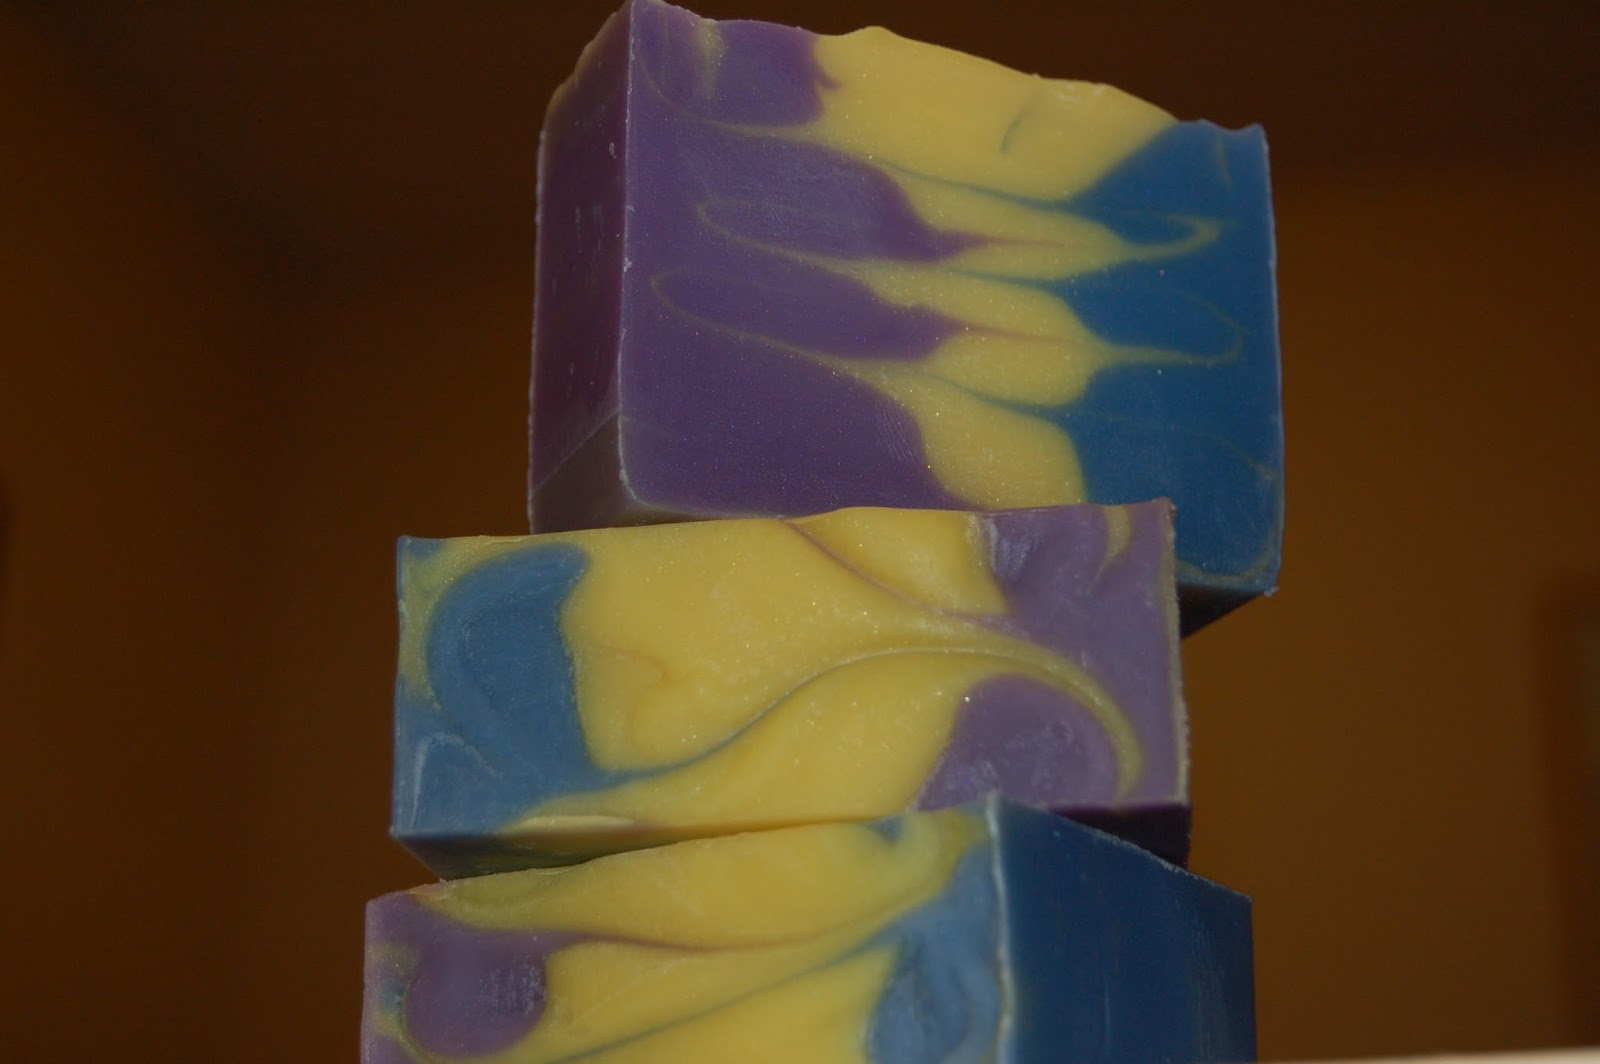
And here they are!!!!!!  The finished bars after steaming.

Bars after steaming!

SO fun and rewarding. This has been a great learning journey for me. Thank you so much for hosting, Amy!





Friday, May 31, 2013

Tiger Stripe


Back in March, Amy from Great Cakes Soapworks hosted a soap challenge, and taught us all how to do a really awesome tiger stripe soap. You know what was even awesomer? (I'm thinking this should be a new word-I'm trying to get it to catch on) I got a free tiger stripe sample colorant pack from Bramble Berry when I used the code provided on her blog with my order. Nice. I got titanium dioxide, activated charcoal, fizzy lemonade, and electric bubblegum. Everything I needed to tiger stripe! I decided to play it safe, and went with Amy's color scheme of white, black, and pink. Well, safe and I LOVED the look.
Here is my rendition. Not bad for a first try, but next time I think I will disperse my TD in water not oil. It got kinda chunky, so when I cut my bars there were TD drag marks. ugh. I scented the batch with BB fresh snow, so maybe instead of cleaning it off, I should have just named the batch Blizzard or something along those lines.
Want to learn how to tiger stripe? Go here and get to it!
S.